Dill Pickle Brined Crispy Chicken
This Dill Pickle Brined Crispy Chicken recipe from The Whole Smiths is sure to knock your pickle-loving socks off. It’s insanely easy to make and uses minimal ingredients. Kids and grown-ups alike are sure to love it.
Does anyone not love pickles? I mean, I know some people (weirdos) don’t like olives. But pickles? I think it’s a universal love. Our family mows through pickles on a regular basis. Whether we are using them for sandwiches or snacking, they’re gone shortly after buying them.
What to do with all that pickle brine.
All of those empty jars with delicious pickle juice just sitting there though, what to do with it? If you’re like my kids, you can drink straight from the jar. Yes, I’ve caught them doing that. And yes, I’ve told them to knock it off but secretly understood the appeal. It’s this beautiful jar of salty goodness and it’s just going to go to waste?
Well as you know, waste not want not. So I decided to put that pickle brine to use and use it to flavor up some things around here. In particular, this Pickle Brined Crispy Chicken recipe. But it got me thinking.. what else have people used their leftover pickle brine for? Well, a martini for one! It sounds a little strange but when you think of it in terms of a dirty martini, it makes sense. I haven’t tried it but I’d be open for it.
You can also use the leftover pickle brine to pickle other vegetables. Things like cauliflower (break them down into small florets) or pickles will get a tasty makeover after letting them soak for a few days.
And finally you can use it to flavor a variety of homemade vinaigrettes and dressings as a vinegar substitute or add it to the water used to boil pasta or potatoes for an extra pow of infused flavor.
The secret to crispy chicken.
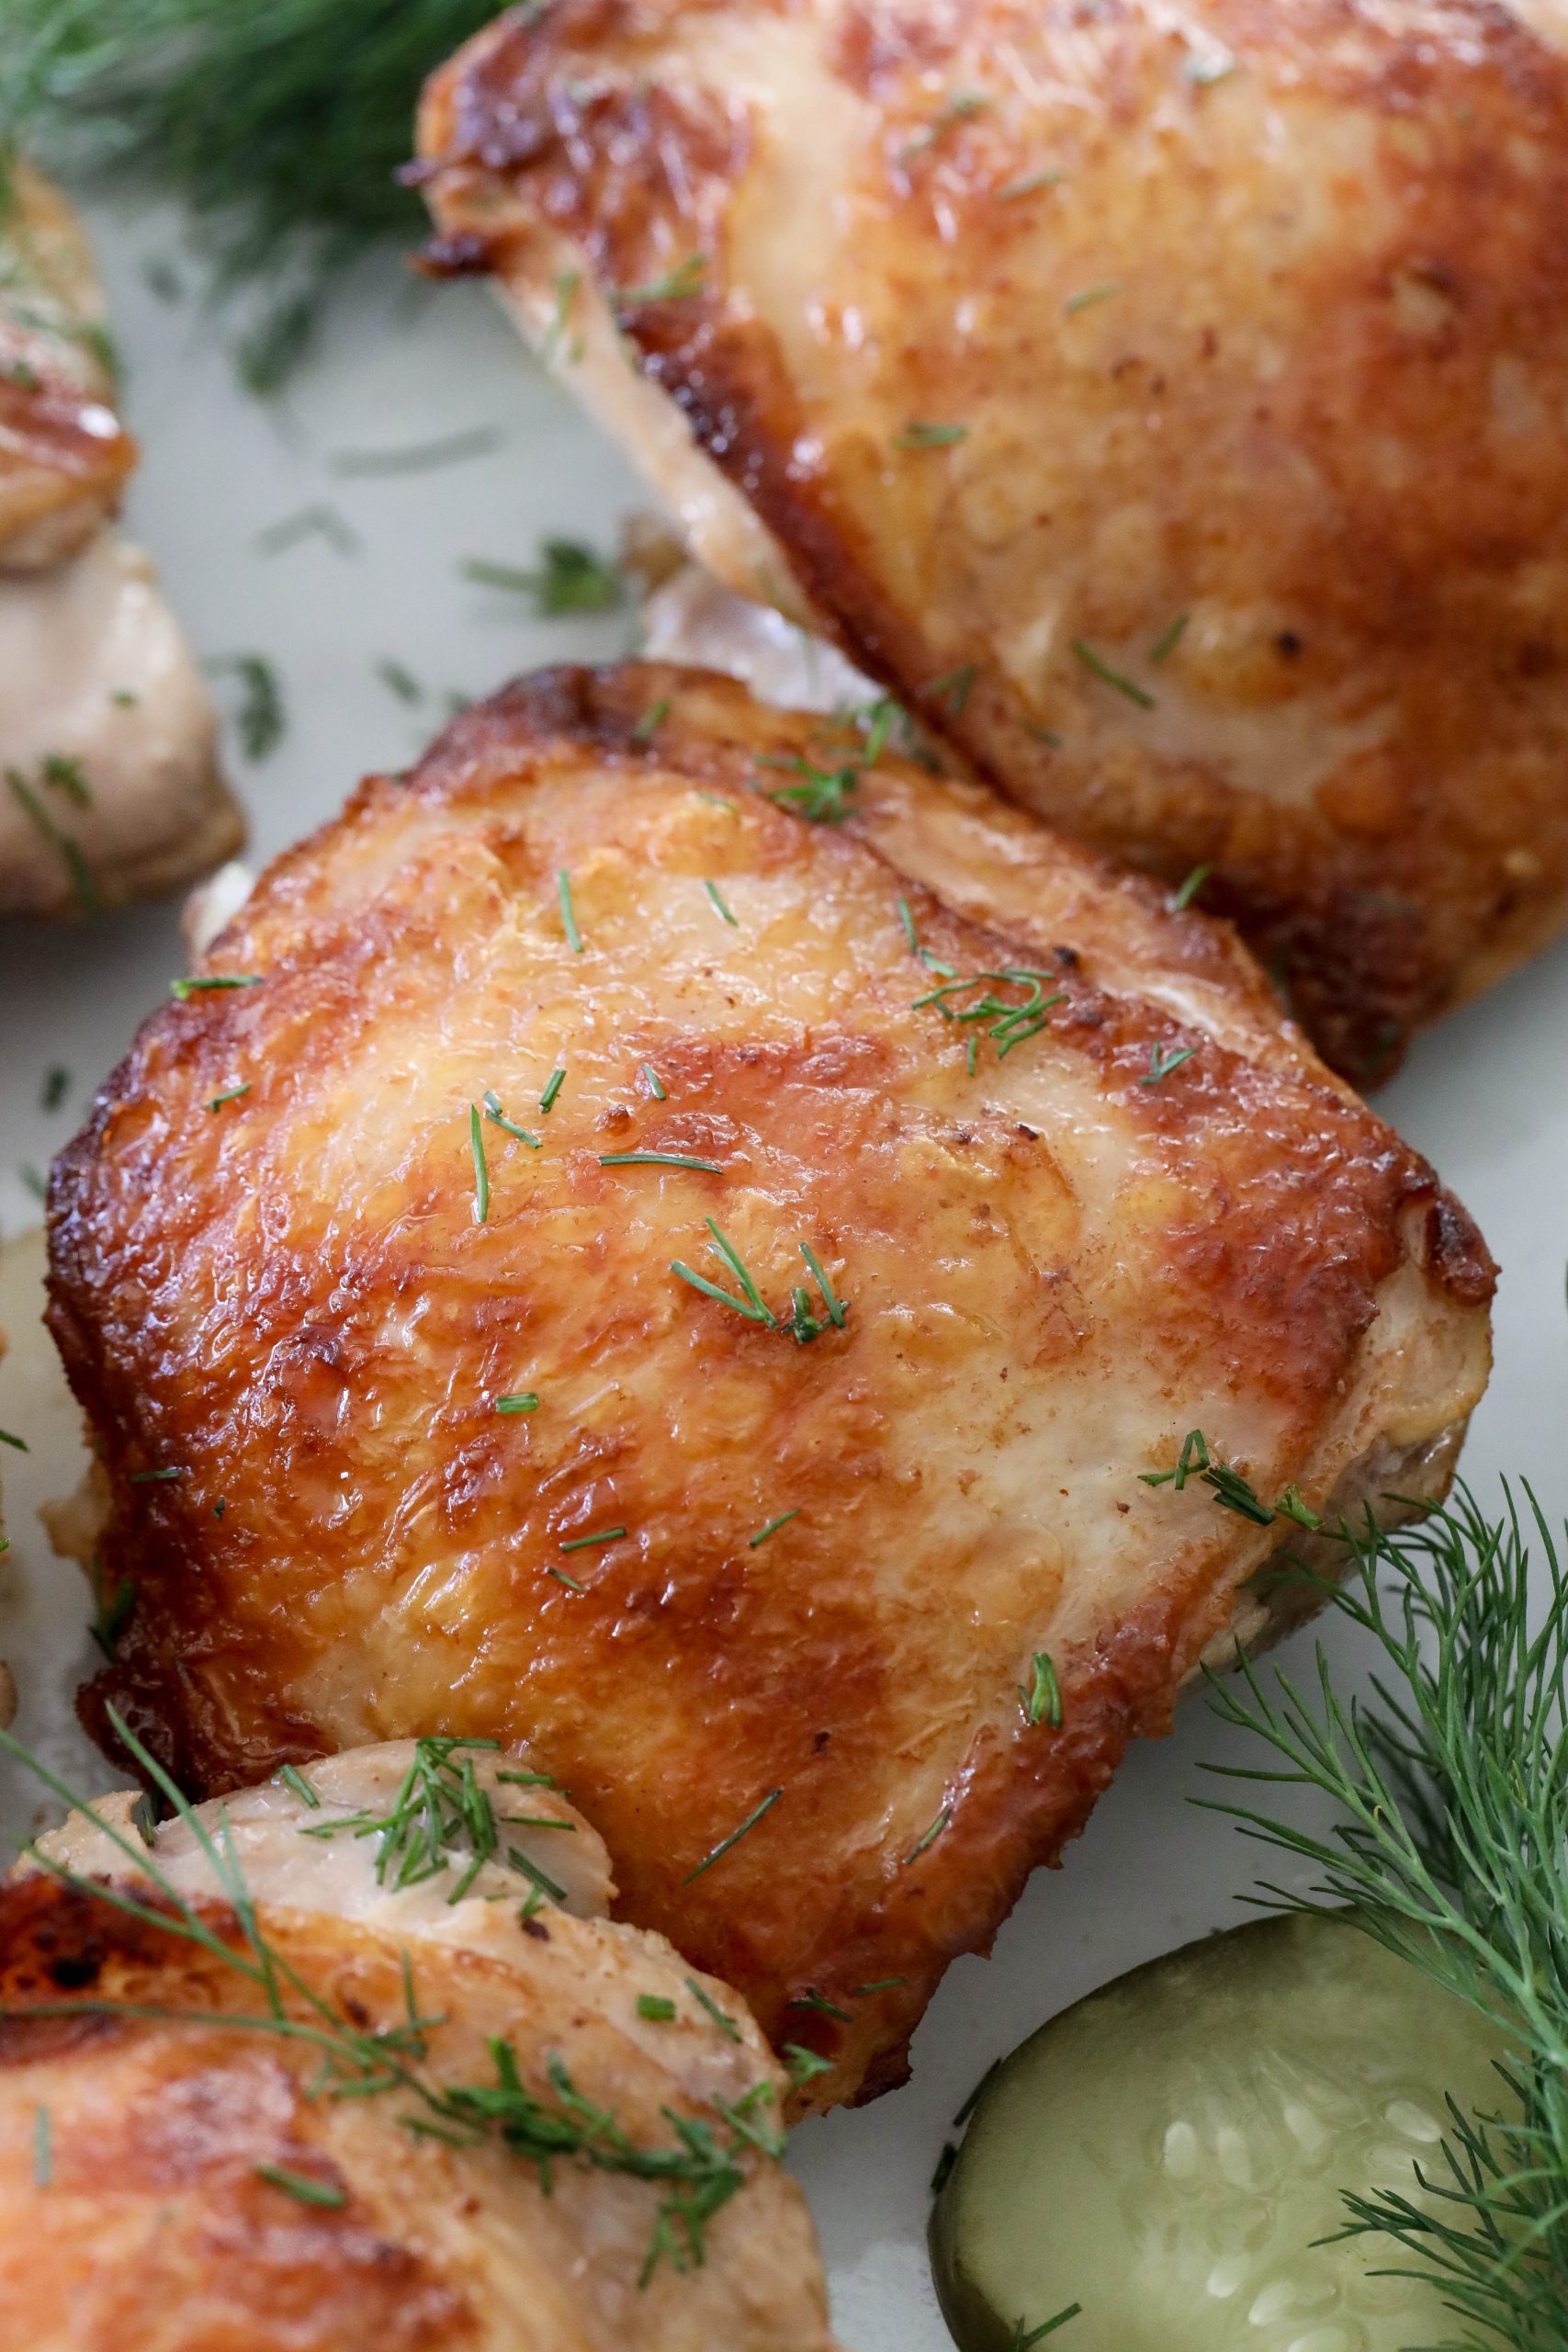
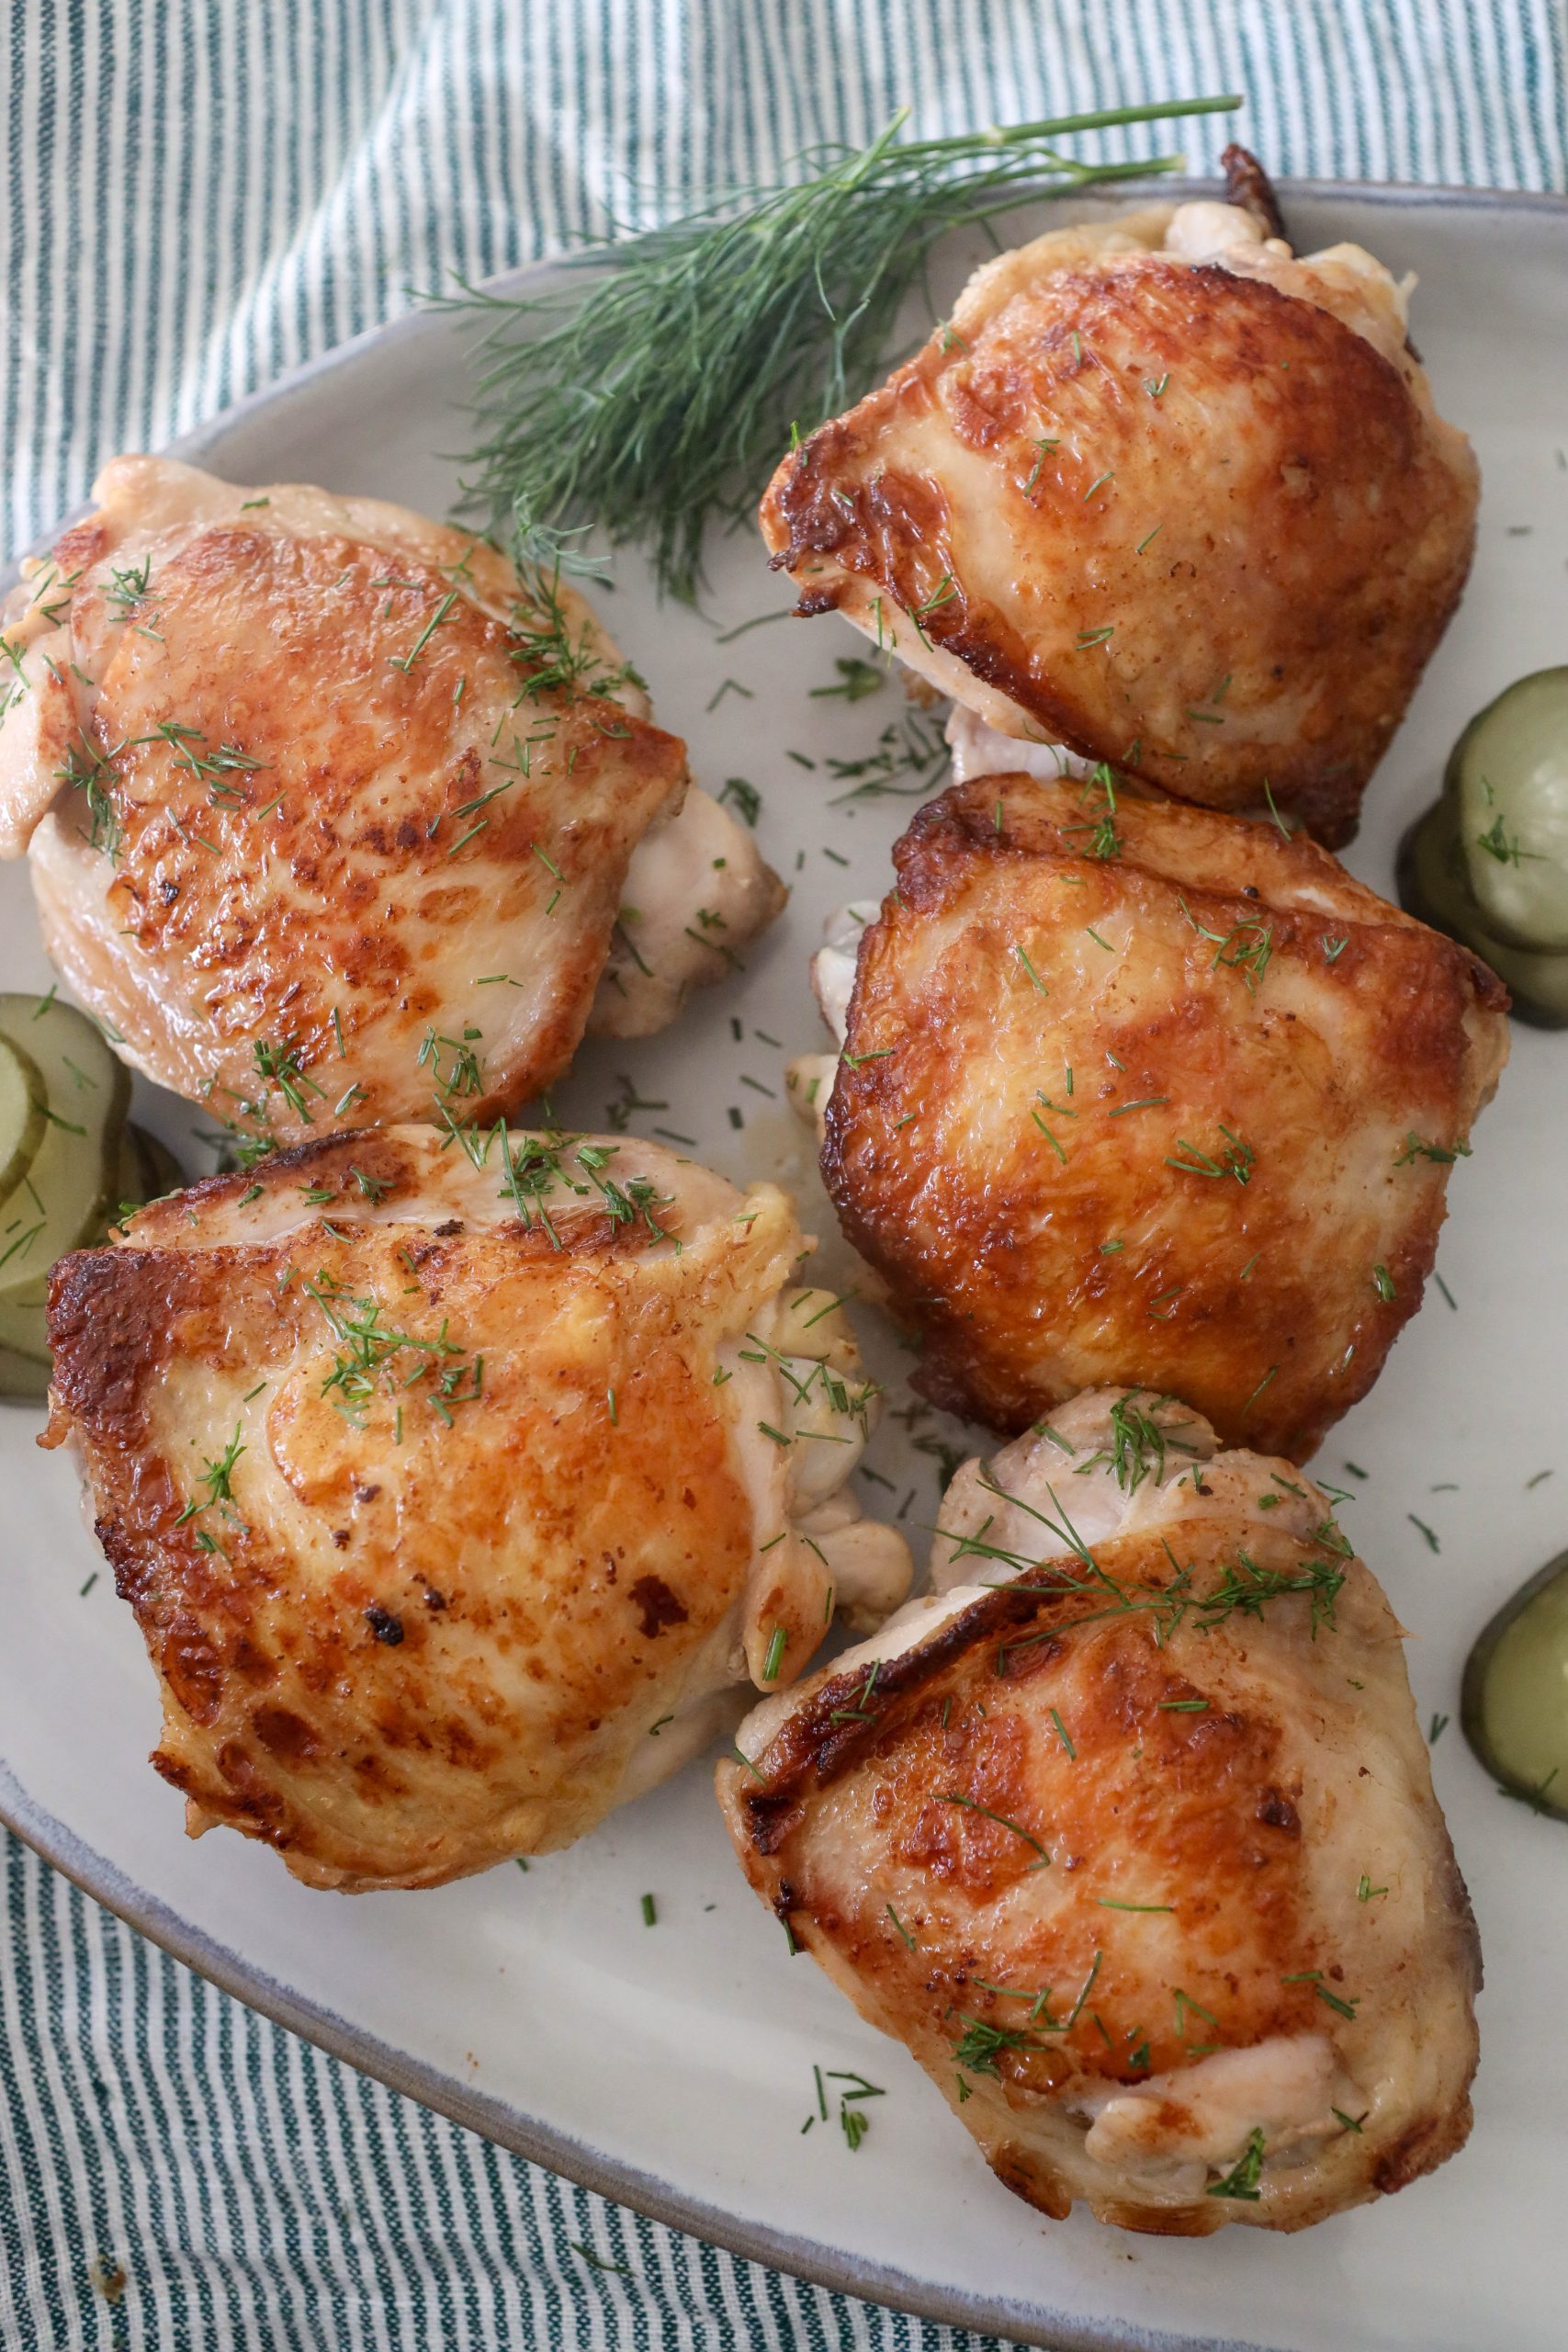
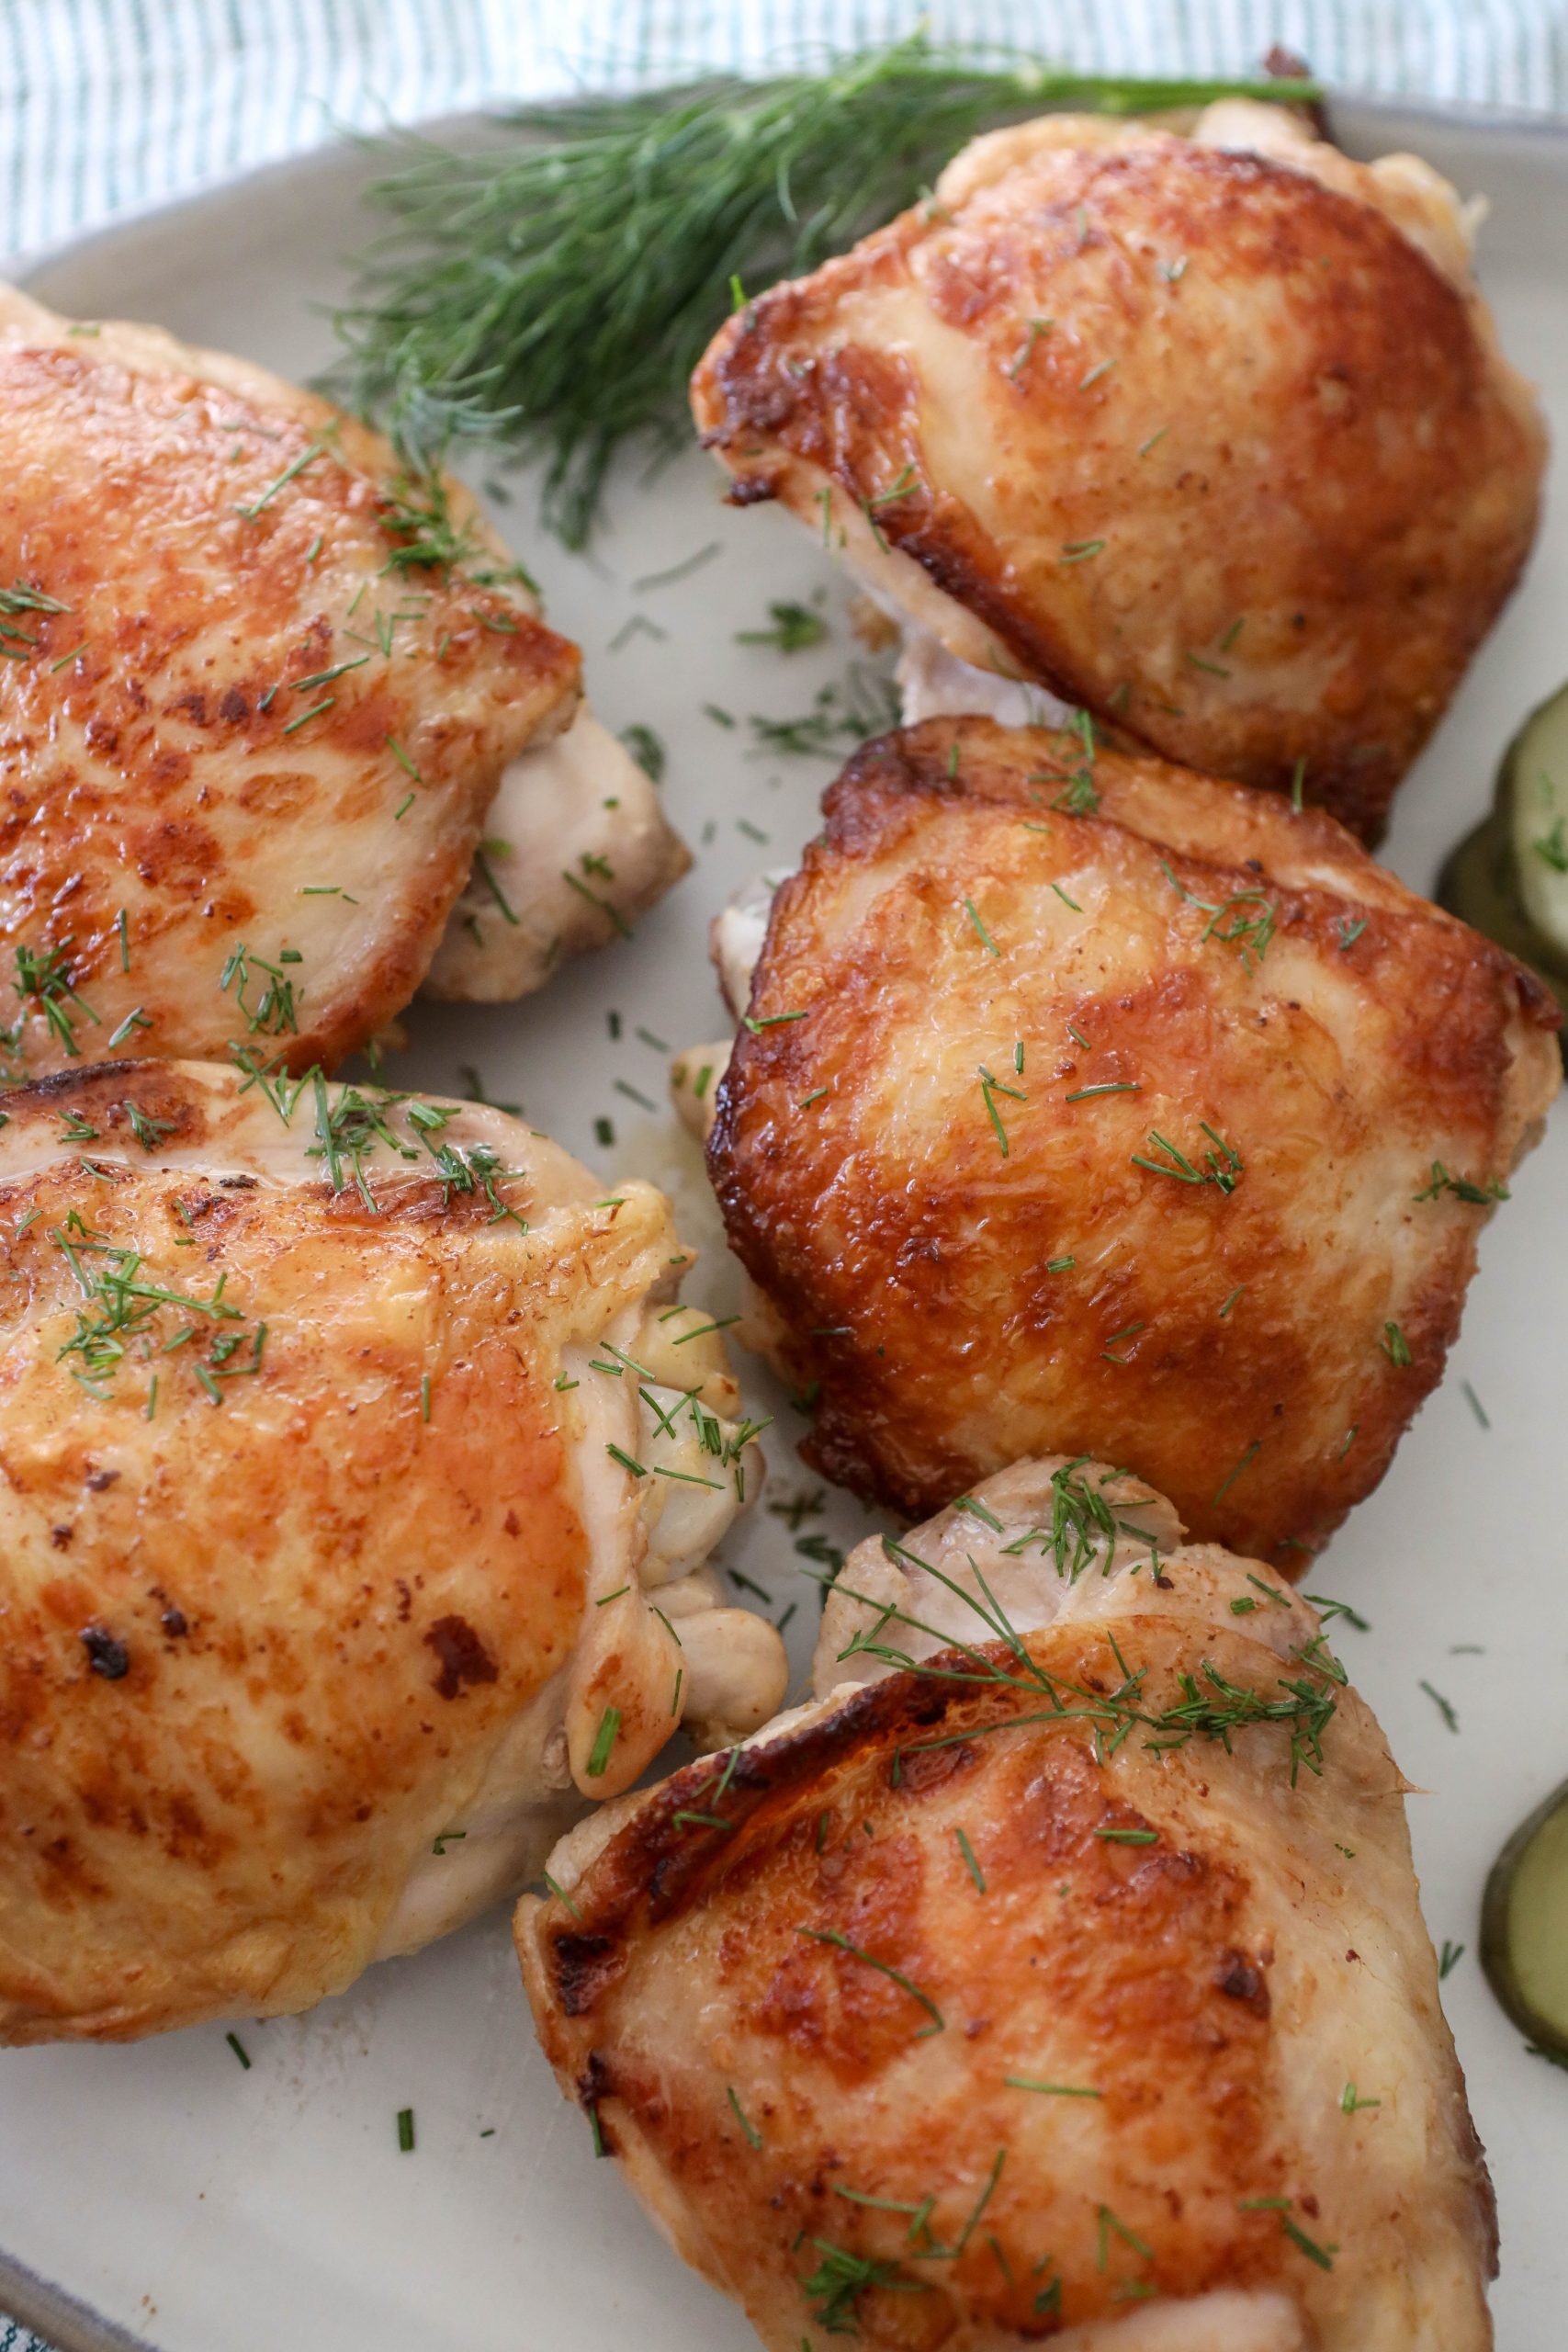
No doubt one of the most enjoyable aspects of this chicken comes in the crispy chicken skin of the chicken thigh. Getting a perfectly crisped chicken ‘do and juicy thigh is a breeze with the right technique. After you have let your chicken thighs marinate in the pickle brine and they are ready to be cooked up, you’re going to want to pat them as dry as possible with some paper towels. The drier the chicken is, the better crust and flavor that will develop.
After you salt your dry chicken thighs, it’s time to get the oil going in an oven-proof pan, I prefer a cast iron or enabled cast iron like this Le Creuset (I love this cooking surface off this one because you can fit a lot onto it). This part is crucial for maximum crust formation. You will want to make sure your oil is plenty hot enough so that when the skin hits the skillet you already have a sizzle going on. But obviously not so hot that it burns. I find that the perfect temperature for this on my stovetop right about medium. Medium-high tends to be a little too hot, but somewhere in between in just right.
Place the chicken thigh skin side down onto the hot skillet and let that chicken sizzle in the pan. Under no circumstances are you to move that chicken for two solid minutes. At 2 to 3 minutes you can use some tongs to take a peek and see where the chicken skin is. It should be crisped and a golden brown, if it is not yet let it sit for another minute until the crust starts to form and you have a uniform golden brown color.
Flip the chicken and cook it in the oven according to the recipe. THEN! You will want to give the chicken a final crisp under the broil, but just for a minute or so, make sure you don’t burn it. And presto, a perfectly crisped thigh.
Everyone loves a juicy thigh.
Once the skin has crisped in the pan on the stovetop, it’s time to move to the next step. Flip the chicken in the pan, let it cook for a minute and add it to a pre-heated oven. Here the thighs will cook thoroughly in their own juices and maximize it’s flavor.
I recommend using an accurate cooking thermometer to indicate how long you’ll want to cook your chicken thighs for. Chicken should be cooked to an internal temperature of 165*F. Once you reach that internal temp, broil the chicken for a minute and remove the pan. Don’t forget the oven mitt!
Remove the chicken from the pan. Let it sit for about 5 minutes before serving an your chicken will be crispy and juicy at the same time.
Side dishes to pair with your Pickle Brined Crispy Chicken.
As far as side dishes go and creamy mashed potato is perhaps my favorite. While I don’t follow a recipe for one and make it as I go, here’s a recipe similar to how I make mine.
But as we know, we need a great vegetable to go along with this dish and I recommend my Best Ever Brussels as a worthy partner. You can also try my Roasted Carrots and Pine Nuts and an easy addition.
Enjoy the recipe my friends and make sure to tag us @thewholesmiths if you share your creation on social.

Tips:
- Make sure that your chicken thighs are patted completely dry prior to adding them to a hot pan.
- My favorite pickles brine to use is from Claussen as it has a deeper level of flavor and saltiness than others.
- The longer you marinate your thighs, the better. While 8 hours is sufficient, I find 24 hours to bring maximum flavor.
Can I make these with olive brine instead?
Yes, if you have olive brine on hand instead it will work. It will obviously have a different flavor but will work.
I don’t have enough pickle brine, can I add water to it?
Yes. Simply add additional salt and a splash of vinegar. The amounts for that will depend on just how much pickle brine you have. You’re going to have to figure out how much on your own but I’d start with ½ teaspoon.
Can I use other cuts of chicken?
Yes! Any cut of chicken will work for this. You can also use the same cooking technique but will have to adjust cooking times as needed. Just get that temp to 165*.

Dill Pickle Brined Crispy Chicken
Ingredients
- 2 pounds bone-in, skin-on chicken thighs
- 3-4 cups pickle brine
- 2 tsp salt
- 2 tbsp avocado oil
- 1 tbsp chopped dill for garnish
Instructions
- Marinate the chicken thighs in the pickle prime for 8 - 24 hours.
- Preheat the oven to 400*F.
- Once brined, pat the chicken thighs dry thoroughly with a paper towel. Season the thighs with the salt.
- Heat an oven safe skillet over medium high heat (just a smidge above medium is best, but not quite medium high). Add the oil to the pan.
- Once the oil is hot, place the chicken thighs skin side down onto the hot pan. Let the chicken thigh cook for 2-3 minutes without moving it. Using a pair of tongs, gently lift a corn or the chicken thigh to see if it is golden brown. If not, cook for an additional minute.
- Flip the chicken thighs and cook them for an additional minute. Place the hot skillet into the preheated oven and cook until the chicken has an internal temperature of 165*F, about 15-25 minutes depending on the size of the thighs and how long they were seared.
- Once at temperature, broil the thighs for one minute to crisp the skin.
- Remove the thighs and let them stand for 5 minutes prior to serving.
- Sprinkle chopped dill over top to serve.


COVID has me making pickles, among other things, on repeat. This is such a good idea, Michelle! I will definitely make it soon! And on the martini front, I can confirm pickle brine is amazing for a dirty martini (either gin or vodka). Delish!
Looking forward to trying this very much! One use for leftover dill pickle juice is for making pickled eggs and if I have an empty jar I hard boil a dozen eggs show them and then put them in the juice.